DIY Halloween Decoration: Mini Pumpkin Black Cat
Halloween is just around the corner, and what better way to get into the spooky spirit than by creating your very own black cat decoration? This adorable and easy-to-make Halloween decoration features fake mini pumpkins, black paint, and felt for ears and a tail. Whether you're decorating your home, classroom, or office, this craft is sure to add a touch of Halloween magic to any space. Follow our step-by-step guide to create your Mini Pumpkin Black Cat!
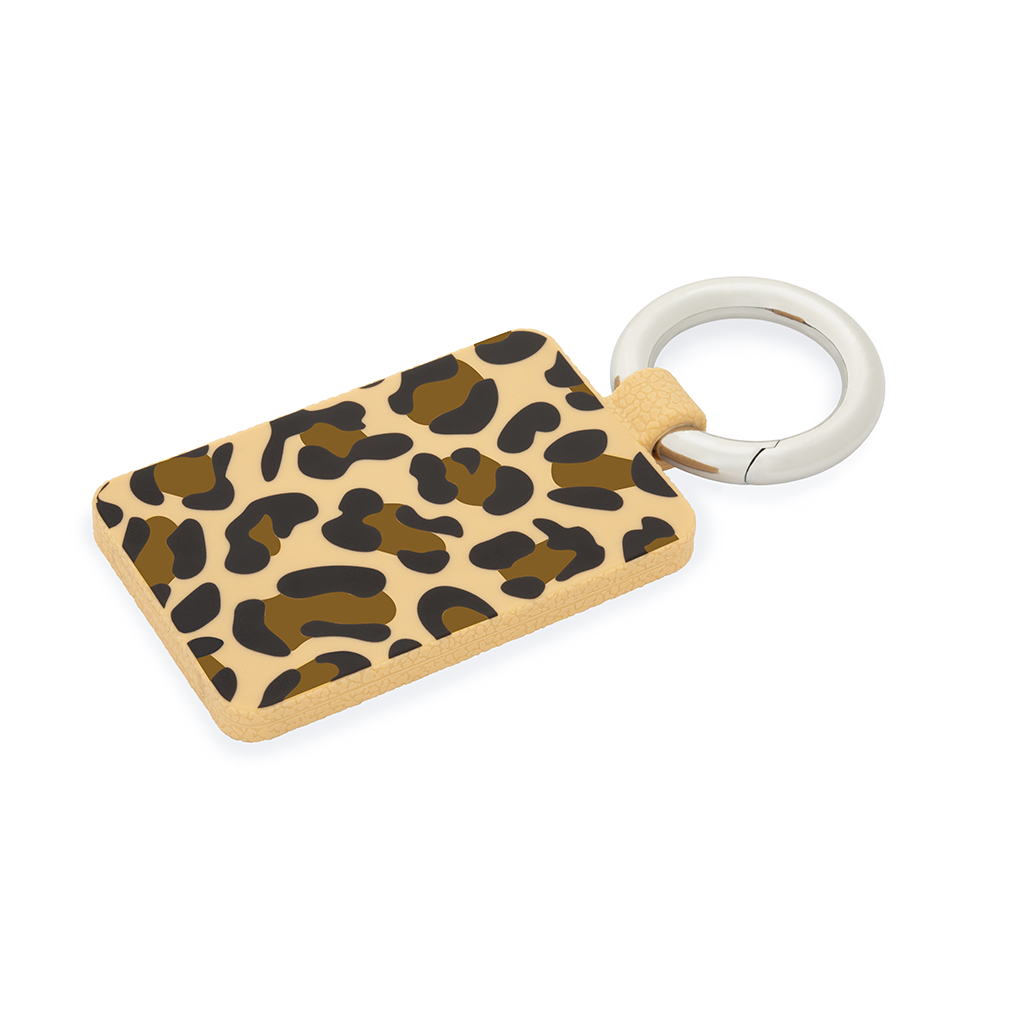
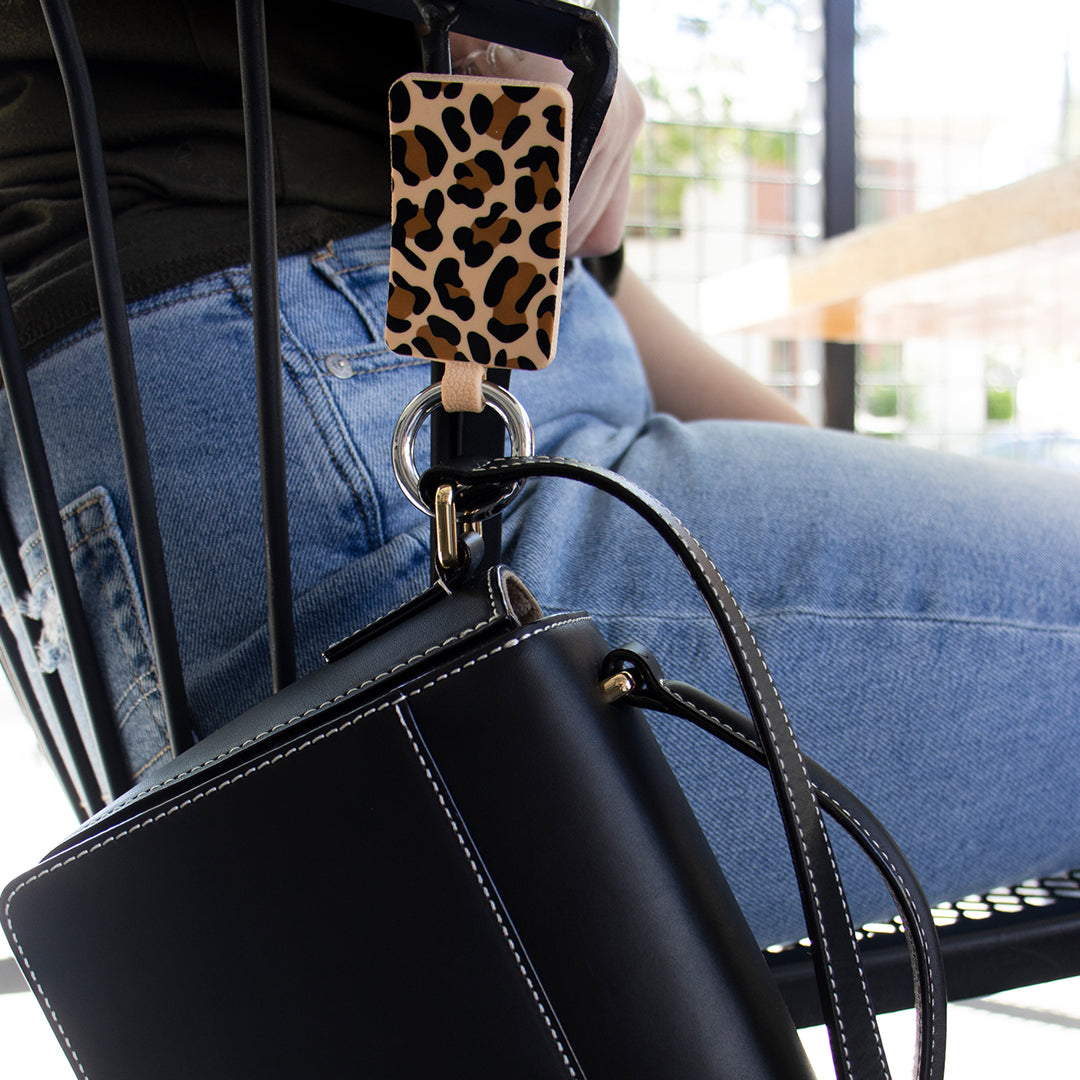
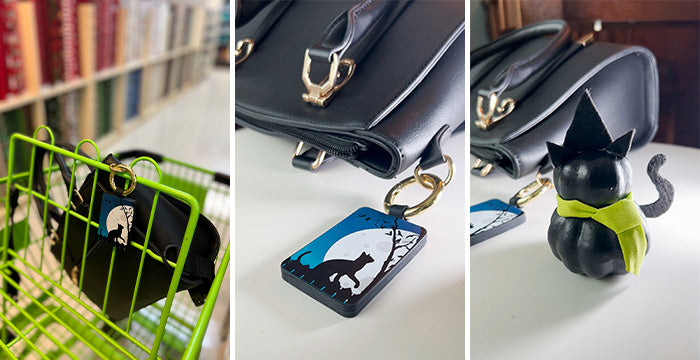
Shop Black Cat for the purr-fect bag hanging solution!
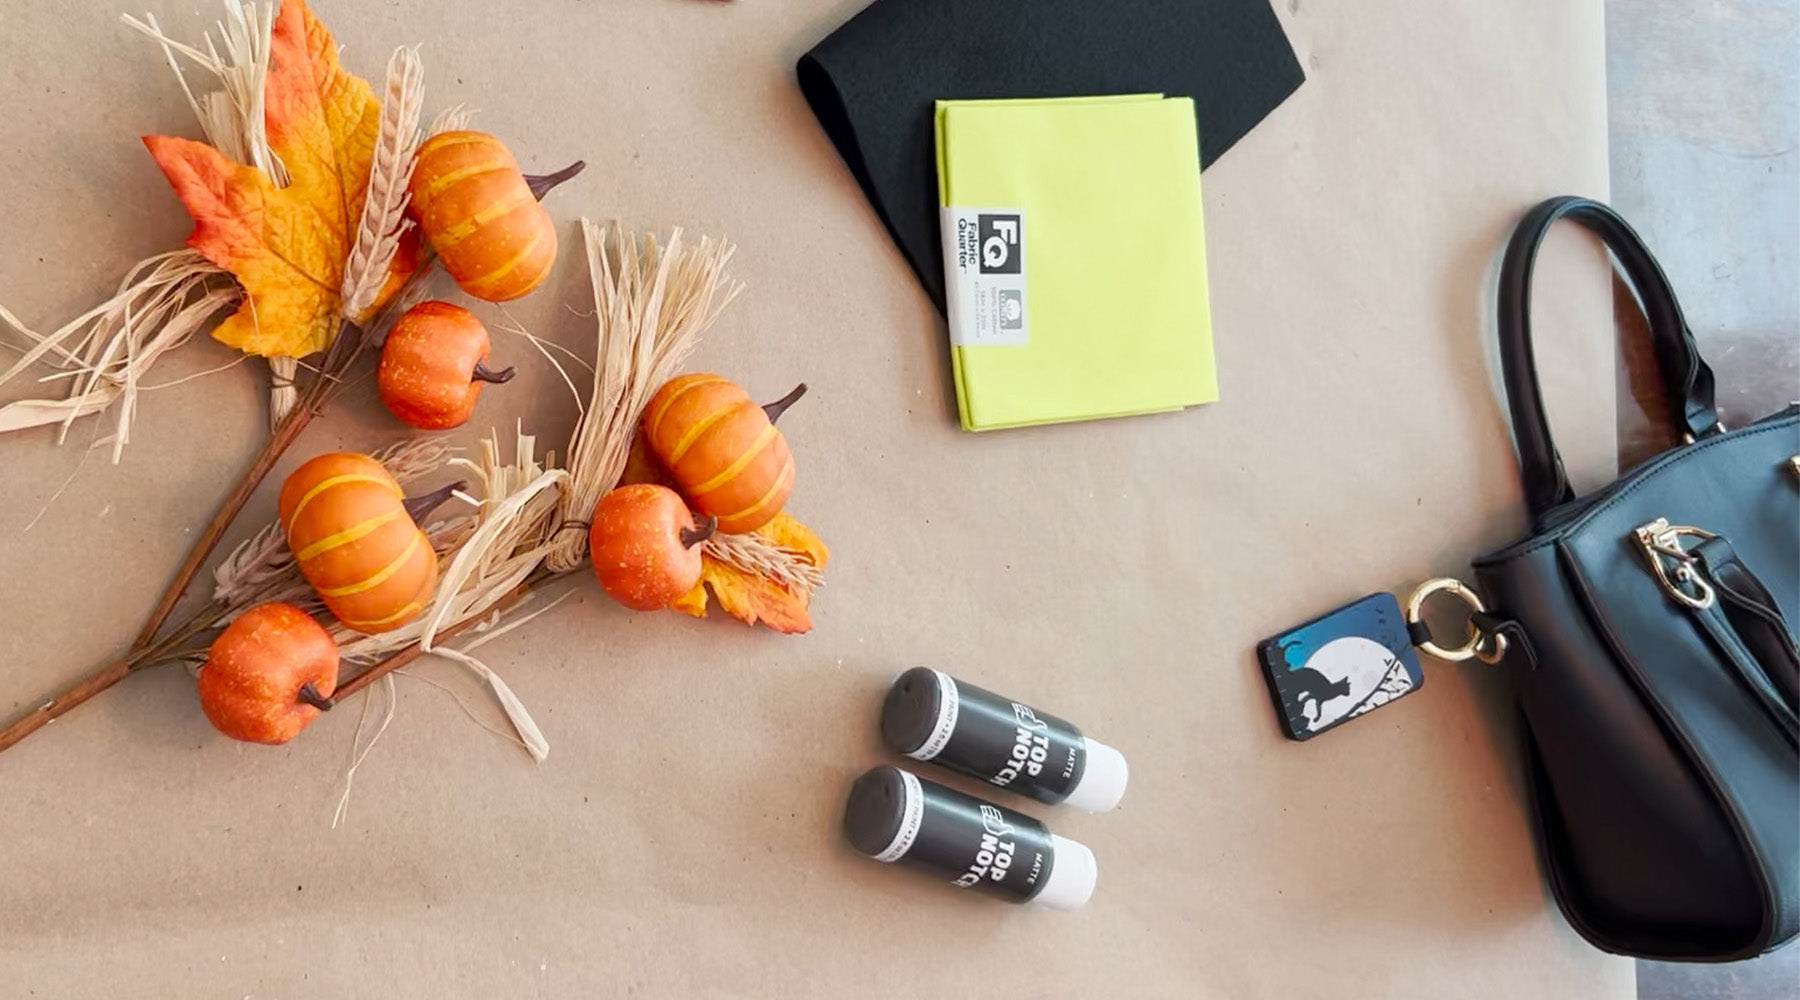
Materials You'll Need:
- Fake mini pumpkins (you can find these at craft stores or online)
- Black acrylic paint
- Paintbrushes
- Black felt
- Scissors
- Hot glue gun and glue sticks
- White chalk or a white colored pencil
- Optional: googly eyes, glitter, or any other embellishments you'd like to add
Step 1: Prepare Your Workspace
Set up a clean and well-ventilated workspace for your crafting adventure. Lay down newspaper or a plastic tablecloth to protect your surfaces from paint splatters.
Step 2: Paint the Mini Pumpkins
Start by giving your mini pumpkins a spooky black makeover. Using a paintbrush, apply a smooth coat of black acrylic paint to each pumpkin. Allow the paint to dry completely. Depending on the paint and the surface of your pumpkins, you may need two coats for full coverage. Be patient and let each coat dry thoroughly before adding another.
Step 3: Create the Ears
While your pumpkins are drying, it's time to make the cat's ears. Cut out two small, triangular ear shapes from the black felt. You can freehand the shape or use a stencil if you prefer. These will be the cat's ears, so make them as big or small as you like.
Step 4: Attach the Ears
Once the pumpkins are dry, it's time to attach the ears. Apply a small dab of hot glue to the base of each ear and press them firmly onto the top of each pumpkin. Make sure they are securely attached and sit at the desired angle.
Step 5: Create the Tail
Cut a long, thin strip of black felt for the cat's tail. You can make it as curly or straight as you like. If you want, you can also add a little curl at the end by wrapping it around a pencil and holding it in place for a few moments. This will give the tail a playful twist.
Step 6: Attach the Tail
Using hot glue, attach the tail to the back of one of the pumpkins. Allow the glue to cool and set to ensure the tail stays in place.
Step 7: Add the Face
Now it's time to give your black cat some personality. Use white chalk or a white colored pencil to draw the cat's face onto one of the pumpkins. You can go for a classic cat face with whiskers and a mischievous grin, or get creative and add your own unique design.
Step 8: Optional Embellishments
If you want to add some extra flair to your mini pumpkin black cat, consider gluing on googly eyes, sprinkling on some glitter, or even attaching a small Halloween-themed accessory like a tiny witch hat.
Step 9: Display Your Mini Pumpkin Black Cat
Once you've finished decorating your mini pumpkin black cat, it's time to find the perfect spot to display it. Whether it's on your doorstep, as a centerpiece on your Halloween party table, or in your office, your homemade decoration is sure to be a hit!
There you have it—a fun and festive DIY Halloween decoration that's perfect for the spooky season. Get creative with your designs and have a blast making your mini pumpkin black cat. Happy Halloween! 🎃
